Composite decking has become the go-to choice for both seasoned builders and DIY enthusiasts looking to create durable and beautiful outdoor spaces. The best part about a composite decking is the easy installation process. That’s right, composite decking installation is a simple process and we can prove it.
In this blog, we take you through a step-by-step guide to help you install composite decking easily and efficiency.
 The next step is to evaluate your landscape to ensure that your deck will be both beautiful and functional.
 Choosing the right boards is crucial for the look and longevity of your deck.
 A solid foundation is key to a durable deck, so pay careful attention to your joist setup.

 Breaker boards not only add visual interest but also reinforce the deck’s structure.
Fascia boards play a crucial role in enhancing the visual appeal of your deck while also providing protection to the structure. They are great vertical areas measuring 450mm or less. For areas exceeding this height simply reach out to the team and we can offer a variety of alternative options that not only maintain a great aesthetic but also ensure the structural integrity of your project is not compromised.
Breaker boards not only add visual interest but also reinforce the deck’s structure.
Fascia boards play a crucial role in enhancing the visual appeal of your deck while also providing protection to the structure. They are great vertical areas measuring 450mm or less. For areas exceeding this height simply reach out to the team and we can offer a variety of alternative options that not only maintain a great aesthetic but also ensure the structural integrity of your project is not compromised.
Step 1: Composite Decking Installation Preliminary Considerations
Before diving into the composite decking installation process, it’s essential to cover some preliminary considerations to ensure that your decking project goes off without a hitch.- Purpose and Use: First, determine whether the deck is for commercial or residential use, as this will guide your material and design choices. Commercial projects tend to have more foot traffic and need to have more support beams (joist spans) under the deck to accommodate for this additional load.
- Existing Subframe: If you’re replacing an old deck, assess the condition of the existing subframe. It’s crucial to ensure it’s still structurally sound. Also take note of the joist span – this is the distance between each perpendicular bearing. The type of property (commercial or residential) and existing span will help determine the most suitable product for your outdoor area.
- The right look: Australia is blessed with varying landscapes and architectural styles. Whilst colour selection is objective it’s helpful to assess your surroundings and visualise colours that will either compliment or stylistically contract with your property. The three main colours to choose from are greys, natural browns and neutral colours. Fortunately Brite Decking has a range of colours and products to suit any style or budget.
- Compliance and Advice: Take into account BAL requirements, subframe materials, and any council restrictions. Whilst DIY projects can save thousands on labour, it’s critical to consult a professional builder who can provide invaluable advice and help you secure necessary approvals.
- Materials Planning: Decide on the quantity, color, and types of boards and accessories you’ll need. A well-thought-out plan will save time and resources down the line
Step 2: Landscape Evaluation
The next step is to evaluate your landscape to ensure that your deck will be both beautiful and functional.
- Environmental Factors: Consider sun exposure, prevailing weather conditions, ground clearance, drainage, and load requirements. These factors will influence the placement and orientation of your deck.
- Deck configuration: Innovative materials like Brite Composite Decking benefit from the latest advancements in construction and configuration. The ideal setup when replacing or building a new deck is to use a Breaker Board setup. Breaker boards are boards placed perpendicular to your main decking boards and provide a stable structure to accommodate for the expansion and contraction of your composite decking material.
- Material Acclimation: Allow your composite decking materials to acclimate to the local environment on a flat surface for at least 48 hours before installation.
- Council approvals: Before proceeding with the installation of your deck, it is crucial to verify with your local council regarding any necessary building permits or requirements. Taking this step can potentially save you a considerable amount of time and frustration in the long run. A quick phone call to ensure that all recommended permits are obtained beforehand can prevent unnecessary setbacks during the deck installation process.
Step 3: Product Selection
 Choosing the right boards is crucial for the look and longevity of your deck.
- Size and Color: Select board sizes and colors that complement your landscape and meet your needs. Brite Decking offers a variety of options to suit any design.
- Accessories: Decking boards make up only a portion of a comprehensive outdoor construction project. Fascia boards serve for vertical installations, such as covering gaps between the ground and the deck’s top or for staircases. Meanwhile, bullnose boards feature a grooved edge on one side and a flat face on the other, primarily employed to initiate the deck. If you’re uncertain about your requirements simply let us know and we’ll help you pick the right product for your unique project
- Quantity Calculation: Accurately calculate the required quantity of boards to cover your desired area, considering layout and spacing. As a rule of thumb our HD Urban X and HD PRO boards cover 0.75SQM per board whilst our game changing Titanium Range covers 0.81 SQM. Unsure? Simply let us know how many SQM your deck will cover and we can help calculate the number of materials you’ll need
- Fixings: Our fixings kits include decking screws and various clips essential for securely fastening your deck to the subframe. While competitors typically charge up to $500 for fixings, at Brite Decking, every order includes all the necessary fixings for installing your deck, ensuring you receive exceptional value with your purchase.
- Wastage: We highly advise purchasing at least 5% additional materials to accommodate for wastage and missteps during the installation process
 A solid foundation is key to a durable deck, so pay careful attention to your joist setup.
- Quality and Layout: Inspect existing joists or plan new ones to ensure they are of good quality and correctly laid out for your deck design.
- Structural configuration: Breaker boards are highly recommended for deck installation. Installed perpendicular to your main decking boards, these boards provide stability as your materials expand and contract due to weather fluctuations. With breaker boards, you get superior performance, ease of installation, and aesthetic appeal, making them the optimal choice for building your deck. To understand more about breaker boards visit this handy guide
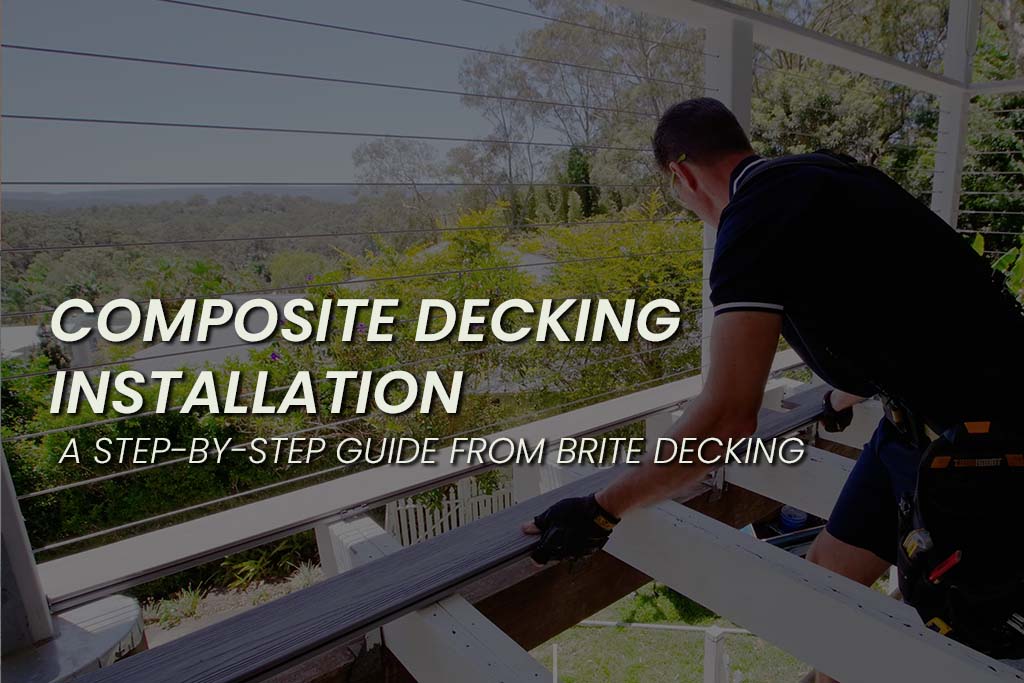
Step 5: Installation Process
Now, the exciting part—Composite Decking Installation
- Starting Off: Begin with bullnose boards and starter clips at the edge of your deck area, ensuring everything is aligned perfectly.


- Decking Clips: Install the decking clips at each joist intersection, keeping the boards spaced correctly.

- Long Board Support: For longer boards, use anti-creep clips to prevent shifting over time.

- Trimming: Once all the boards are laid, trim any overhanging edges for a near

Breaker Board Installation:
 Breaker boards not only add visual interest but also reinforce the deck’s structure.
- Precise Measurement and Cutting: Measure and cut your breaker boards carefully, maintaining proper spacing. Use a track saw and multi-tool for precision.
- Secure Attachment: Fix the breaker boards in place with secret screws for a clean look. Check out our handy breaker board video for more information
Fascia Installation
 Fascia boards play a crucial role in enhancing the visual appeal of your deck while also providing protection to the structure. They are great vertical areas measuring 450mm or less. For areas exceeding this height simply reach out to the team and we can offer a variety of alternative options that not only maintain a great aesthetic but also ensure the structural integrity of your project is not compromised.
- Positioning: Fasten fascia boards to the subframe and joists, ensuring they don’t directly touch the decking boards to allow for expansion.
- Screwing: To properly secure the fascia boards, use screws according to the manufacturer’s guidelines for spacing and placement. Pre-drill holes that are 2mm larger than the screw heads to allow for expansion. If installing multiple fascia boards in a row, leave approximately +- 2 mm butt joints expansion on each side to accommodate for expansion (slightly larger if installed in temperatures of 15 degrees Celsius or less). Ensure the initial two screws are installed 25mm from the edge, then proceed to secure screws at intervals of every 300mm to 450mm as you work forward. This method ensures proper installation and accommodates for any potential expansion of the materials.
Step 6: Final Checks and Clean-up
The last step is to ensure everything is secure and clean up your workspace.
- Inspection: Check that all clips and screws are tightly fastened and that the deck feels stable and secure.
- Cleaning: Remove any debris from the deck surface and give it a thorough hosing down to reveal the final, clean look of your new deck.
Ready for a Successful Composite Decking Installation?
The key to a successful deck installation lies in planning and attention to detail. By following these steps above you’re on your way to creating the perfect outdoor space that will last for years to come. For additional guidance, be sure to explore our product installation page and watch our comprehensive step by step composite decking installation video. If you need some tips simply give us a call on 1300 481 664.