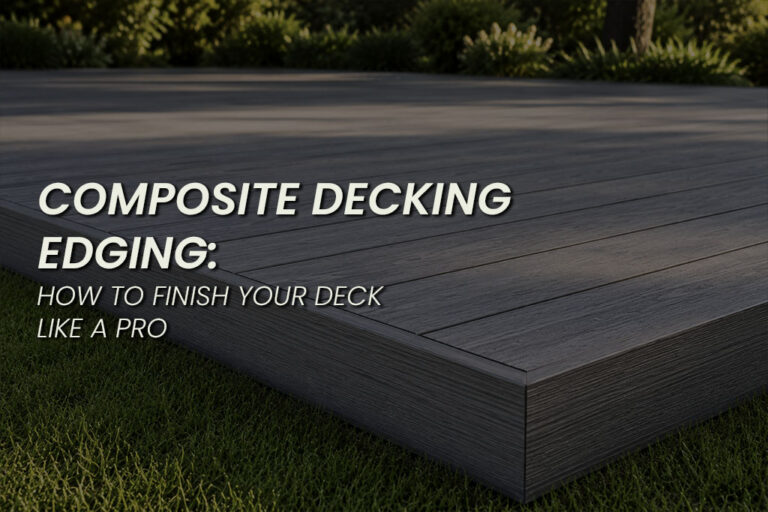
When installing a deck on your property, it’s critical to configure your deck boards so that there is the correct amount of spacing between them. Traditionally, most people install decking on their properties using butt joints as a way to hold their boards together, leaving a certain level of space to separate each board. This is a common, and relatively affordable, way of configuring your deck.
However, using butt joints is not the best way to achieve a sustainable and healthy deck in the longer term. We’re strongly of the view that breaker boards are the ideal configuration install your deck – whether that’s on a residential or a commercial property.
In this article, we’ll explain exactly what a breaker board is, how they work and why they are undeniably the best way to install your deck – especially if you’re using high-quality composite decking. We’ll also briefly outline a step-by-step guide you can use to install a breaker board on your deck.
What is a breaker board?
In decking, a breaker board is a board that runs perpendicular to the surface a of a deck. They’re used to keep your deck boards straight and at the same length, control expansion and contraction, while minimising the amount of wastage your deck may generate over time.
The spacing between boards on your deck is vital. A gap leaves your deck with sufficient space to drain, dry, contract and expand without the wood undergoing damage. Without correct spacing, the decking boards can become mouldy, cup, buckle, and ultimately rot. This will then inevitably cause them to break apart. It is time-consuming and expensive to maintain and replace them. Unfortunately, deck boards have a natural tendency to expand as they get older – no matter how correct the spacing is between them.
This is especially the case for composite decking. Composite decking boards are manufactured from a combination of wood fibres and recycled plastics, which means they have a greater tendency to expand and contract when weather fluctuates (a process called linear expansion). Expansion especially accelerates when decks are exposed to wet and humid weather.
This is where breaker boards can provide the most value, as they can slow down the process of expansion and contraction. This leaves your deck in a healthy condition for longer and reduces the level of maintenance required.
How breaker boards work
Breaker boards quite literally ‘break up’ or separate your boards by distributing the force of their contraction and expansion. This is so that force does not become concentrated on any particular area of your board to ultimately cause it damage.
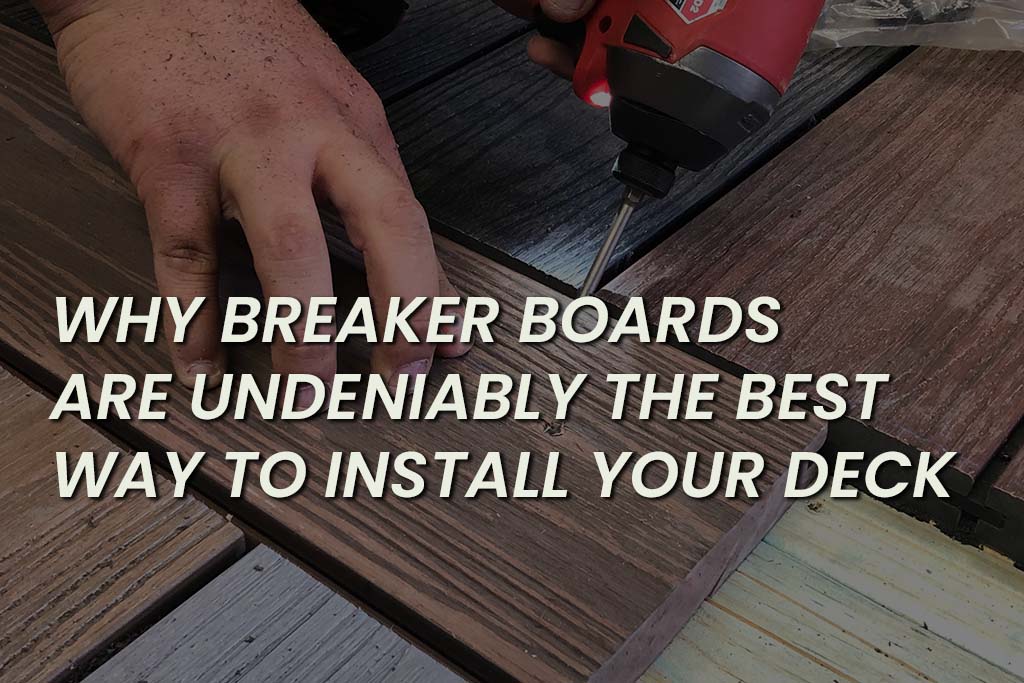
Breaker board look like strips, which have been cut into the decking after it is laid. They are kept secure by screws into the deck and are easy to remove if necessary if you need to go underneath your deck for any particular purpose.
If your decking boards are shorter than the length of your deck, it is practical to install a breaker board with the deck boards on either side.
Why can’t I just use butt joints on my deck?
Most decks are built using “butt joints”, which is where deck boards intersect one another often in a ‘staggered’ design. Because there are often so many different points that the boards intersect across the deck, the clips at the intersection point must be properly secured.
Too many times, we’ve seen clips holding deck boards together incorrectly at the butt joints. This inevitably causes problems in the long run, as decking boards expand, contract and break apart over time.
But even if boards are held together properly using butt joints, this configuration technique results in two unavoidable problems for composite decks if they expand or contract along their length:
- The board is pushed in front of the butt joints, creating a domino effect and potentially dislodging boards from its underlying frame.
- A chain reaction occurs which destabilises the entire deck, all because there are so many different points of contacts between boards using butt joint configuration.
Why breaker boards are ideal when installing a deck
Many of the problems you’ll experience with butt joints are alleviated when using a breaker board as an alternate spacing and configuration solution. You should certainly use breaker boards (rather than butt joints) if your deck is over 5.4 metres in length.
We’ll outline below why we think breaker boards are undeniably the best way to install and configure your deck.
Creates a secure parameter
Having a breaker board configured on your deck provides a secure parameter around your boards, keeping them contained and in one place.
Because butt joints can lead to a destabilisation of your deck, there is a greater risk of your entire deck collapsing. This is because poor, uneven spacing can lead to your boards to rot at a faster rate.
Ultimately, a deck that collapses will very likely cause damage to any goods being stored on top (such as your barbeque, for example). Not to mention the risk of causing serious injury to people who are walking on your deck.
Insecure decks are a major problem in Australia and various countries around the world. The NSW Institute of Building Consultants reported that about 6% of Australian homes have a timber deck or balcony, and that around 2% of these have the potential to cause death. A large part of the problem is rotting timber. In the United States, it’s also estimated that 30 million (out of 60 million) decks across the country are past their useful life and need to be repaired or completely replaced.
A breaker board is a useful step you can take to reduce the risk that your deck meets this fate.
Boards expand and contract equally
The problem with using the butt joint stagger method is that you’ll never be able to ensure consistent gaps across the deck.
By way of example, if you’re installing a 5.4 metre board, you’ll likely experience a contraction and expansion double the amount that a regular 2.7 metre board will. The boards will contract away and expand into one another, creating overly huge expansion gaps.
This can present not only a tripping and falling hazard, but ultimately cause your deck to rot and break apart. Attempting to use locking clips to hold the boards in place won’t always work.
This is why breaker boards are much more viable alternative. With one perpendicular board dividing your boards on the deck, you can ensure consistent spacing between your boards and avoid the creation of huge expansion spacing.
A breaker board will allow the other boards on your deck to expand and contract equally, as opposed to having them all contracting and expanding at different lengths.
There is only one intersection
Unlike the case of butt joints, decking boards will only interest with one board – namely, the breaker board. They won’t intersect with each other in all different directions.
This means that, when expansion and contraction occurs, only one board will need to be adjusted. This is opposed to having to adjust multiple boards (caused by the domino effect of using butt joints that can destabilise your entire deck).
Aesthetically pleasing
Butt joints are ugly – plain and simple. Ultimately, you want your deck looking amazing. Breaker boards come with less lines and points of contact, creating a much more symmetrical illusion that’s pleasing to the eye. All sections of your boards will be of the same length, so everything will just look neater. Your deck will look great in front of the camera, and will form an excellent backdrop for photographs that you can cherish for years to come.
How to install a deck breaker board
The precise way to install a breaker board when laying your composite deck yourself may differ depending on the exact system you use.
However, below, we’ll outline a general step-by-step guide you can follow:
- Work out where breaker boards will be positioned on your deck. You can’t just build your deck and place the breaker board wherever you feel like. The substructure of your deck will need to be built to support your breaker boards. Therefore, it’s important to have an understanding of where the breaker boards will be located before laying the foundations for your overall deck.
- Install two C-clips at each end where your breaker board will be laid. C-clips are a common tool when setting up your deck. When installing them, we recommend leaving a gap of around 2mm if you live in a region with cool temperatures. You’ll probably want to leave a tighter gap if you live in hot temperatures.
- Draw a string line and install remaining C-clips. The string line will stretch across the breaker board area and will be connected to the C-clips on either side. The other C-clips can be installed around 450mm apart from one another.
- Push breaker board into C-clips. Sturdily push your breaker board into the C-clips so it connects with your deck. Lightly tap the breaker board to ensure that it’s connected securely with the C-clips.
- Secure the other side of your breaker board. To do this, you’ll likely need to modify your standard C-clip. You can do this by cutting or flattening one side of the clip so that it is only single-sided (rather than double-sided). Install these clips on the other side of your breaker board by pushing them firmly into the groove and screwing it tightly. You can install the clips 450mm between each other.
- Lay the rest of your deck. Once your breaker board has been installed, you can lay the rest of your deck boards.
Any further questions about breaker boards?
Breaker boards play a critical role in composite decking to ensure your decks remain safe, healthy and sustainable in the long term. They are a much more practical and visually appealing alternative to butt joints, and they are easy to install.
If you’re curious to understand the role of breaker boards in more detail, or are looking to discover if breaker boards are right for your deck, then get in touch with the decking experts here at Brite Decking. Our team has had decades of combined experience supplying high-quality deck material for homeowners and businesses alike to create the most beautiful decks for their properties.
Get in touch with our team today. We’re looking forward to meeting you!

Brite Decking's composite decking specialist with over 30 years of industry experience