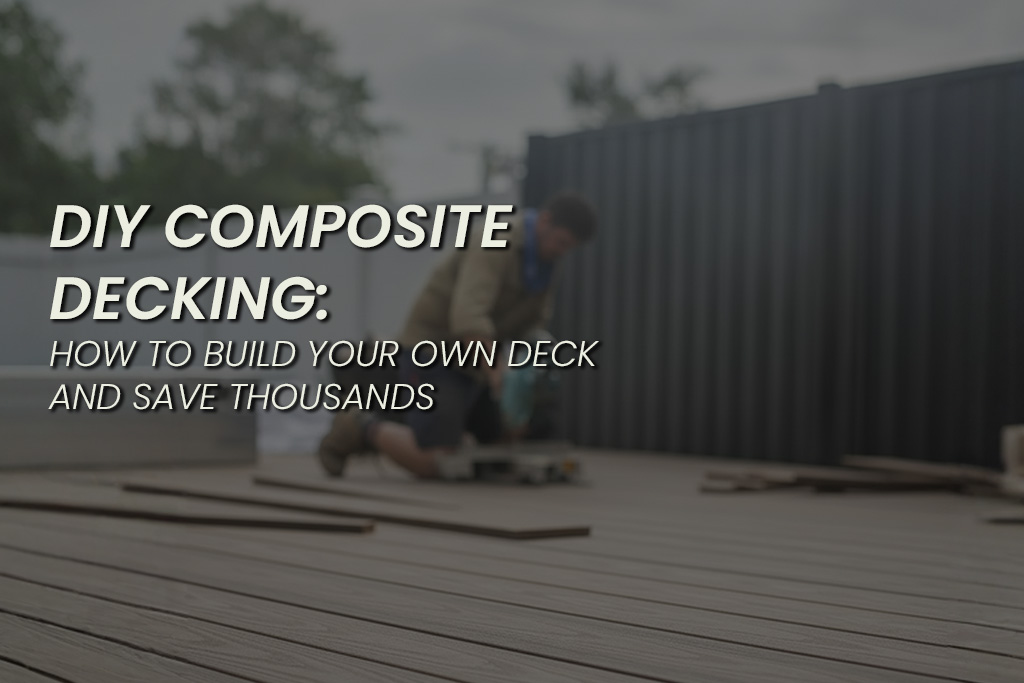
DIY Composite Decking: How to Build Your Own Deck and Save Thousands
A practical, honest guide to building a composite deck yourself — what you’ll save, what you’ll need, and whether DIY is right for your project.
Building your own composite deck is one of the most rewarding DIY projects a homeowner can take on. Composite decking’s hidden clip systems, consistent board dimensions, and forgiving installation process make it significantly more approachable than traditional timber decking — and the savings are substantial. Most DIY builders save $2,000–$5,000 in labour costs compared to hiring a professional installer.
That said, not every deck project is suited to DIY. This guide helps you decide whether building your own composite deck is the right call, walks you through the process, and flags the mistakes that trip up first-time builders.
Full Installation Guide (DIY & Professional) →
Is DIY Right for Your Project?
DIY Is a Good Fit If…
- Your deck is freestanding (not bolted to the house). Freestanding decks are structurally simpler and often exempt from building permits.
- It’s at or near ground level (under 600mm high). Low decks require simpler footings and minimal structural engineering.
- The design is straightforward — rectangular, single level, with boards running in one direction.
- You have basic carpentry skills and own or can hire a circular saw, drill/driver, and spirit level.
- The deck area is under 25m². Manageable for one or two people over a couple of weekends.
Hire a Professional If…
- The deck attaches to your house — the structural connection and flashing to the dwelling are critical and require experience to waterproof correctly.
- It’s elevated more than 600mm — higher decks involve posts, bracing, and potentially engineering certification.
- Your design includes stairs, multiple levels, or curves — these add significant complexity.
- You’re in a bushfire zone — BAL compliance typically requires licensed installation and certification.
- Council approval is required — many councils require a licensed builder for permitted works.
The honest answer: A simple, freestanding, ground-level composite deck is a very achievable DIY project. Once you add height, stairs, structural connections, or compliance requirements, the value of professional installation increases sharply — both for the quality of the result and for warranty and insurance coverage.
Find a Professional Installer Near You →
How Much Will You Save?
The main financial benefit of DIY is eliminating professional labour costs, which typically run $80–$180 per square metre. Here’s what that looks like in practice:
| Deck Size | Materials Only | Professionally Installed | DIY Saving |
| 10m² | $1,500–$3,250 | $3,500–$5,000 | $1,000–$2,500 |
| 20m² | $2,800–$6,500 | $5,600–$9,000 | $2,000–$3,600 |
| 30m² | $4,000–$9,750 | $7,500–$13,500 | $2,400–$5,400 |
These savings assume you already own basic power tools. If you need to hire a circular saw, drill, and other equipment, budget an additional $200–$500 for tool hire. Even with tool hire, the savings are significant.
You’ll also need to factor in costs that a professional quote would normally include: waste disposal ($100–$300), building permit if required ($200–$800), and any site preparation work like removing an old deck or clearing vegetation.
Calculate Your Materials Cost →
Planning Your DIY Deck
Step 1: Check Regulations
Before you order a single board, check your local council requirements. In most Australian states, freestanding decks under 1 metre high and under a certain size can be built without a permit. Decks over 1 metre high, attached to the dwelling, or exceeding size limits generally require a building permit and may need to be built by a licensed builder.
Call your local council or check their website — a 10-minute call can save you from a costly compliance issue down the track. Building permit costs are typically $200–$800.
Step 2: Design and Measure
Start with a simple sketch showing the deck shape, dimensions, board direction, and any features like steps or built-in seating. For a DIY-friendly project, stick to a rectangular shape with boards running perpendicular to the longest side — this minimises cuts, reduces waste, and simplifies joist layout.
Measure your area carefully. Use a tape measure, not estimates. Mark out the deck footprint on the ground with string lines and pegs to visualise the final size before committing. This is your chance to adjust dimensions before materials are ordered.
Step 3: Calculate and Order Materials
For a standard rectangular deck, you’ll need composite decking boards to cover your deck area plus 10% for waste (use our price calculator for an exact figure), subframe materials including joists, bearers, and posts or stirrups, hidden fastening clips (one per joist intersection, plus start and finish clips), fascia boards to cover exposed board ends and frame edges, joist protection tape (butyl tape), concrete for footings (if building on posts), and stainless steel or galvanised screws for subframe connections.
Pro tip: Order 10–15% extra decking boards beyond your calculated area. Offcuts, miscuts, and the occasional damaged board are inevitable in any DIY project. Having spare boards means you won’t be waiting for a top-up delivery mid-build.
Tools You’ll Need
Essential (Must-Have)
- Circular saw with fine-toothed carbide blade (60+ teeth)
- Cordless drill/driver with impact setting
- Tape measure (8m minimum)
- Spirit level (1200mm)
- Chalk line and string line
- Speed square or combination square
- Rubber mallet
- Pencil and marker
- Safety gear: safety glasses, hearing protection, dust mask, gloves
Nice to Have
- Mitre saw (faster, cleaner cuts than circular saw)
- Laser level (invaluable for checking fall and alignment over distance)
- Board straightening tool (corrects minor bows in boards during installation)
- Spacer jig (ensures perfectly consistent board gaps)
- Post hole digger or auger (if building on posts)
Most of these tools are available for hire from Bunnings or local tool hire companies if you don’t own them. A weekend hire for a circular saw, drill, and spirit level typically costs $100–$200.
DIY Build Process: Step by Step
Here’s the simplified build sequence for a standard freestanding, ground-level composite deck. For detailed technical specifications, refer to our full installation guide.
Day 1: Site Preparation and Subframe
Clear and level the site. Remove vegetation, debris, and any existing structures. For ground-level decks, lay weed matting over bare soil to prevent growth under the deck. Level the area roughly — minor variations are handled by adjusting the subframe.
Set your footings. For ground-level decks, concrete pier blocks or adjustable post supports provide a stable, level base. Position footings in a grid pattern at maximum 1200mm centres (or as specified by your joist span tables). Use a string line and spirit level to ensure footings are level and aligned.
Install bearers and joists. Lay bearers across the footings, then fix joists perpendicular to the direction your boards will run. Space joists at maximum 450mm centres (400mm for diagonal board layouts). Apply butyl joist tape to the top of every timber joist to protect against moisture.
Check for fall. The deck surface should slope away from any adjacent structure at a minimum of 1:100 (10mm per metre of run). This ensures water drains away rather than pooling against the house.
Day 2: Laying Boards
Acclimatise boards. Ideally, unpack boards and leave them on-site for 24–48 hours before installation to adjust to ambient temperature. This reduces expansion and contraction after installation.
Start from the house or fixed edge. Fix the first board using start clips, maintaining a 10–15mm expansion gap from the wall. Check the first board is perfectly straight — any deviation will carry through the entire deck.
Install hidden clips and boards. Work your way across the deck, placing clips at every joist, driving the screw, and sliding the next board into position. The clips automatically maintain the correct gap between boards. Don’t overtighten clip screws — boards need room to move with temperature changes.
Stagger end joints. Where boards meet end-to-end, leave a 3–5mm gap and use a double joist for support. Stagger joints across rows for structural integrity and better appearance.
Day 3: Finishing
Cut the final board. Measure the remaining gap, subtract your expansion gap (10–15mm), and rip the final board to width using a circular saw with a straight-edge guide.
Install fascia. Fit fascia boards to cover exposed board ends and the outer face of the subframe. Use colour-matched screws or adhesive as recommended by your product.
Add edge trim. Install trim profiles at transitions to other surfaces. Cover the expansion gap at the house wall with a flexible cover strip.
Final check. Walk the entire deck, checking every board is seated properly in its clips, all gaps are consistent, and fascia is secure.
Detailed Technical Installation Guide →
7 DIY Mistakes That Ruin Decks
We see the same issues repeatedly on DIY builds. Avoid these and you’ll get a professional-quality result.
- Skipping the spirit level. A deck that’s not level looks wrong from every angle and pools water in low spots. Check level obsessively during subframe construction — it’s almost impossible to fix once boards are down.
- Forgetting expansion gaps. Composite expands more than timber. Leave 10–15mm at all walls, posts, and fixed structures, and 3–5mm between board ends. Decks installed tight against the house buckle in summer.
- Joists too far apart. Exceeding the maximum joist spacing (450mm for perpendicular boards) causes a spongy, bouncy deck. Going slightly closer (400mm) costs a little more but creates a noticeably more solid feel.
- No joist tape. Water sits on bare timber joist tops and accelerates rot. Butyl tape costs under $50 for most decks and adds years to your subframe’s life.
- Not acclimatising boards. Installing cold boards from the pallet on a winter morning means they’ll expand significantly in summer. Unpack and spread out boards for 24–48 hours before installation.
- Overtightening clips. Cranking clip screws down too hard locks boards in place and prevents thermal movement. This causes buckling, cupping, or clip failure in hot weather. Snug is enough.
- Wrong blade on the saw. A coarse-toothed timber blade tears and chips composite edges. Use a fine-toothed carbide blade (60+ teeth) for clean cuts every time.
The Weekend Build: Realistic Timeframes
For a first-time DIY builder working with a helper, here’s what to expect:
|
Deck Size |
Prep & Subframe |
Boards & Finish |
Total Time |
|
Small (8–12m²) |
1 day |
1 day |
1 weekend |
|
Medium (15–25m²) |
1.5–2 days |
1–1.5 days |
2 weekends |
|
Large (25–40m²) |
2–3 days |
1.5–2 days |
3+ weekends |
The subframe always takes longer than you expect — especially if footings are involved. The boards themselves go down surprisingly quickly once the subframe is done. Most DIY builders report that board laying is the most satisfying part of the project.
Pro tip: Don’t rush the subframe to get boards down. A perfectly built subframe makes board installation fast and frustration-free. A rushed subframe causes problems at every stage that follows.
After Your Build
Give your new deck a gentle wash with warm soapy water to remove construction dust and footprints. Avoid placing heavy furniture, planters, or mats on the deck for the first 4–8 weeks — the boards need even UV exposure during this initial period to reach their stable colour.
After the settling period, your composite deck requires almost no maintenance. Sweep leaves and debris regularly to prevent staining, and wash with soapy water 2–4 times per year. No oiling, no staining, no sealing — just enjoy it.
Cleaning and Maintenance Guide →
Start Planning Your DIY Deck
Ready to get started? Use our free tools to plan your project:
- Price Calculator: Calculate materials and costs for your exact deck size
- Free Samples: See and feel the product before you commit
- Installation Guide: Full technical guide with detailed specifications
- Expert Advice: Talk to our team about your project — we’re happy to help DIY builders
How hard is it to install composite decking yourself?
How much money do you save doing DIY composite decking?
Can one person build a composite deck alone?
Do I need a building permit for a DIY deck?
What’s the easiest type of deck to build yourself?
Can I build a composite deck over existing concrete?
Yes — and it’s one of the best DIY applications for composite decking. Fix composite or aluminium battens to the concrete with masonry anchors, then lay composite boards on top using hidden clips. The concrete must be structurally sound and have adequate drainage away from structures.