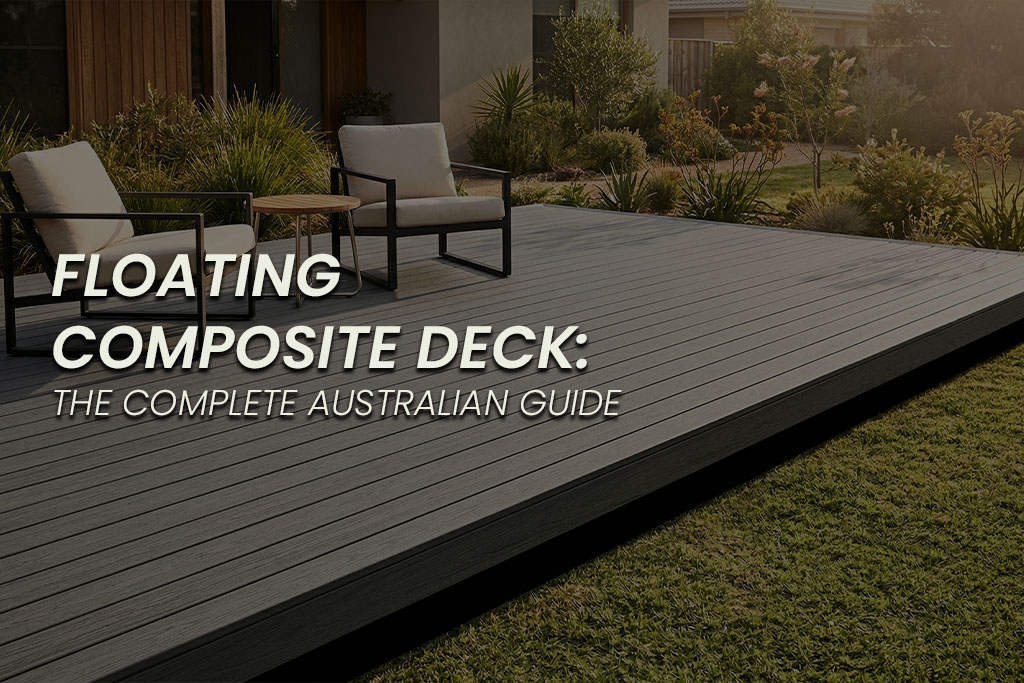
A floating deck — also called a freestanding or ground-level deck — is one of the simplest and most cost-effective outdoor projects you can build. Unlike traditional attached decks that require deep footings, structural connections to the house, and may involve additional approval requirements, a floating deck sits independently on the ground, making it an ideal DIY project and a smart way to transform underused outdoor space.
Pairing a floating deck design with composite decking materials gives you the best of both worlds: a straightforward build process with virtually maintenance-free results. This guide covers everything you need to know about building a floating composite deck in Australia — from planning and permits to materials, construction steps, and design ideas.
What Is Composite Decking? — Complete Guide →
What Is a Floating Deck?
A floating deck is a freestanding platform that isn’t structurally attached to your house or any other building. It ‘floats’ on the ground, supported by concrete blocks, adjustable deck feet, or shallow piers rather than deep post-and-footing foundations. Because it’s independent of the house structure, it’s simpler to build and, in most Australian states, doesn’t require council approval if it stays under certain height limits.
Floating decks are typically ground-level or very low profile — usually no more than 200–400mm above the ground. This makes them perfect for flat or gently sloping backyards, and they can be placed anywhere in the garden without needing to be adjacent to the house.
Why Composite Is Ideal for Floating Decks
Floating decks sit close to the ground where moisture, soil contact, and limited airflow create conditions that accelerate timber deterioration. This is precisely where composite decking outperforms timber:
Moisture resistance: Capped composite won’t absorb ground moisture, rot, or swell — critical when the deck is close to soil level.
Termite proof: Ground-level structures are highly exposed to termite activity. Composite eliminates this risk entirely.
No ground-contact treatment needed: Timber used close to the ground requires H4-rated treatment for ground contact. Composite has no such requirement.
Zero maintenance: The underside of a floating deck is virtually inaccessible for maintenance. With composite, you never need to access it — no oiling, no sealing, no treatment.
Consistent dimensions: Composite boards don’t warp or twist in damp conditions, keeping the deck flat and even over time.
Composite vs Timber Decking — Full Comparison →
Do You Need Council Approval?
One of the biggest advantages of floating decks is that many low-height, freestanding designs are often simpler to build from an approval perspective, depending on your state, local council, and the conditions of your site.
Requirements can still vary based on planning rules, building approvals, boundary setbacks, bushfire or flood overlays, and whether the deck is attached to an existing structure. For that reason, this section is intended as a general guide only. Before starting, it’s always worth confirming the exact requirements with your local council, private certifier, or licensed building professional.
Common Low-Height Freestanding Deck Thresholds (General Guide Only)
State | Exempt If | Needs Approval If | Key Reference |
NSW | Under 600mm high, not attached, <25m² | Over 600mm or near boundary | NSW Exempt Development |
VIC | Under 800mm, freestanding | Over 800mm or within 1.5m of boundary | VBA guidelines |
QLD | Under 1m high, freestanding | Over 1m high or attached | QBCC |
WA | Under 500mm, not in setback | Over 500mm or near boundary | WA Planning |
SA | Under 500mm, freestanding | Over 500mm or near boundary | SA Planning |
These are general examples only, and the exact approval requirements can vary depending on your local council, state, and site conditions. Extra checks may also apply in flood-prone areas, bushfire zones, heritage areas, near pool barriers, or where the deck is close to a boundary.
Requirements can also change based on the size of the deck, how high it sits above the natural ground level, and whether it is freestanding or positioned against an existing building.
Before getting started, it’s always best to quickly confirm the requirements with your local council, private certifier, or licensed building professional so you know the design is suitable for your property.

Planning Your Floating Deck
Choosing the Location
Walk your outdoor space and consider how you’ll use the deck. Think about sun exposure (morning sun is usually preferred for entertaining areas), privacy from neighbours, proximity to the house for convenience, views you want to capture or screen out, and existing landscaping you want to preserve or work around. One advantage of floating decks is that you can place them anywhere — under a tree, in the middle of the garden, or tucked into a corner. They don’t need to be against the house.
Size and Shape
The most cost-effective floating decks are rectangular, but L-shapes and simple angles are achievable for DIYers. Common sizes range from a compact 2m x 3m (6m²) reading nook to a generous 4m x 5m (20m²) entertaining platform. Before finalising dimensions, lay out the area with string lines or garden hose and place your furniture inside to check everything fits comfortably. Allow 600–800mm around dining settings for chair movement.
Ground Preparation
Good ground preparation prevents problems later. Clear the area of vegetation, rocks, and debris. Level the ground as much as possible — minor slopes can be accommodated with adjustable feet, but significant fall requires more work. Lay weed mat over the cleared area to suppress growth underneath the deck. Add a 50–75mm layer of gravel or crushed rock over the weed mat for drainage and stability. This gravel base is important — it prevents water pooling under the deck and provides a stable foundation for your support blocks.
Materials Needed
Bill of Materials (Example: 3m x 4m Floating Deck)
Material | Quantity | Est. Cost | Notes |
Composite decking boards | ~13m² | $1,300–$2,500 | Allow 10% waste |
Treated pine joists (90x45mm) | ~40 lin. metres | $200–$350 | 450mm centres |
Bearers (140x45mm or 190x45mm) | ~12 lin. metres | $120–$200 | Support joists |
Concrete blocks or deck feet | 12–16 units | $120–$300 | Adjustable preferred |
Hidden fasteners/clips | ~150 clips | $100–$180 | Brand-specific |
Fascia boards | ~14 lin. metres | $150–$280 | Matching composite |
Weed mat + gravel | ~15m² | $100–$200 | Drainage layer |
Joist tape + screws | Various | $50–$100 | Butyl tape for joist tops |
TOTAL (materials only) | $2,140–$4,110 | DIY savings |
Composite Decking Cost Guide 2026 →

How to Build a Floating Composite Deck
Here’s a step-by-step overview of the construction process. This is a guide for a simple rectangular floating deck — more complex designs may require additional planning.
Step 1: Prepare the Site
Mark out the deck area with string lines and pegs. Remove all vegetation and topsoil to a depth of 75–100mm. Level the area, then compact the soil. Lay landscape weed mat over the entire area, overlapping edges by 150mm. Spread and compact 50–75mm of gravel or crushed rock.
Step 2: Set the Support Blocks
Position concrete blocks or adjustable deck feet in rows to support the bearers. Space them at maximum 1,200mm centres along the bearer length and at each end. Use a string line and spirit level to set all blocks to the same height. Adjustable deck feet make levelling much easier than fixed blocks — they’re worth the small extra cost.
Step 3: Install Bearers
Lay bearers across the support blocks, running perpendicular to the direction your decking boards will run. Check for level along each bearer and across bearers. Secure bearers to support blocks with appropriate fixings. Ensure bearers extend at least 50mm past the outermost joist positions.
Step 4: Install Joists
Fix joists across the bearers at 450mm centres (or 400mm for diagonal board installation). Use joist hangers or skew-nail to bearers. Apply butyl joist tape along the top of each joist before laying boards — this protects the timber from moisture trapped by the boards above. Check all joists are level with each other.
Step 5: Lay Composite Boards
Start from the straightest edge. Place the first board and secure with starter clips. Continue laying boards using the manufacturer’s hidden fastening system, maintaining consistent gaps between boards (usually 3–5mm — check your product specifications). Cut boards to length with a standard mitre saw or circular saw fitted with a fine-tooth blade. Stagger end joints for a natural appearance.
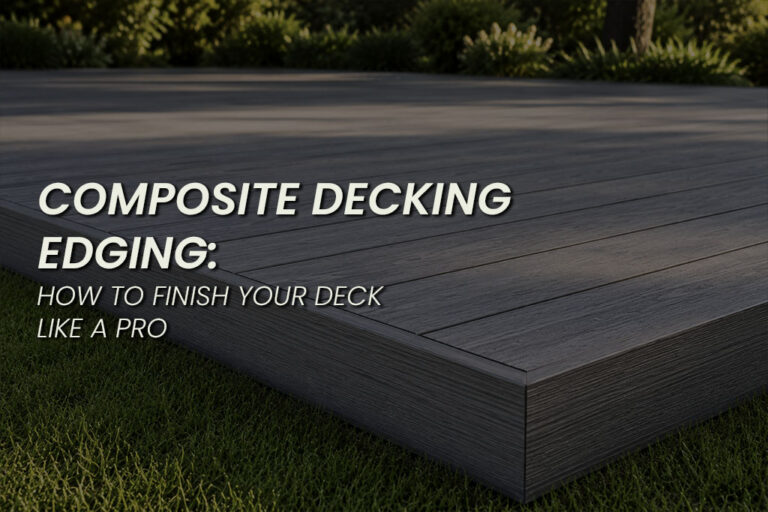
Step 6: Finish the Edges
Install fascia boards around the perimeter to cover the exposed board ends and subframe. Most composite ranges include matching fascia profiles. Secure fascia with stainless steel screws or the manufacturer’s recommended fixings. Check that the fascia sits flush and tight.
Floating Deck Design Ideas
Outdoor Entertaining Platform
The most popular floating deck use — a standalone entertaining area positioned for the best aspect in your garden. Size it for your dining table plus circulation space (typically 16–20m²). Add festoon lighting overhead for atmosphere and consider a slightly raised edge or step for definition.
Garden Room or Reading Nook
A compact 2m x 3m floating deck tucked under a shade tree creates a charming garden retreat. Add comfortable outdoor seating and pot plants. The small footprint keeps costs under $2,000 for materials and makes a weekend DIY project perfectly manageable.
Pool Surround Extension
A floating deck can extend an existing pool area without the structural engineering needed for an attached deck. Place it adjacent to the pool fence with a seamless connection. Use lighter-coloured composite for barefoot comfort and ensure the boards have appropriate slip ratings (R11/P5 minimum).
Hot Tub or Spa Pad
Floating decks can support portable hot tubs and spas, but the subframe needs to be designed for the load. A filled spa with occupants can weigh over 2,000kg. Additional bearers, closer joist spacing (300mm centres), and more support blocks are essential. Consult the spa manufacturer’s weight specifications and consider professional advice for the subframe design.
Front Yard or Side Passage Feature
Floating decks work in any outdoor area, not just the backyard. A small deck in a neglected side passage or front yard can create useful outdoor space where there was none.
Common Floating Deck Mistakes to Avoid
Even simple floating decks can fail early if the subframe and drainage aren’t planned correctly. The most common issues we see include:
inadequate drainage causing water to sit under the deck
support blocks placed directly onto soft soil
joists positioned too close to ground level with poor airflow
joist centres too wide for the chosen board profile
no expansion gap against walls or retaining edges
missing joist tape on timber subframes
uneven gravel compaction leading to movement over time
placing the deck too close to existing garden beds or irrigation
A floating deck should always prioritise airflow, drainage, stable support points, and correct joist spacing to ensure long-term performance.